How to set up WhatsApp Business in 5 minutes
A plain-English walkthrough for setting up WhatsApp Business from scratch. Download the app, verify your number, build your profile, add your catalog, and set up auto-replies — in 5 minutes.

Most small businesses are still using their personal WhatsApp number to talk to customers. It works until it doesn't. Missed messages, no way to look professional, no catalog, no auto-replies. WhatsApp Business fixes all of that. And it takes about 5 minutes to set up.
Here's exactly how to do it.
Why WhatsApp Business?
It's free. It's separate from your personal WhatsApp. And it makes your business look legit from the moment someone opens your chat.
Your customers see your business name, your category, your business hours, and even a verified badge if you qualify. That's instant trust before you say a single word. Compare that to a personal account with no name, no profile info, and a number nobody recognizes.
You also get tools that don't exist in regular WhatsApp: a product catalog, automated greeting and away messages, quick replies, labels to organize conversations, and business analytics. This is the difference between running a business on WhatsApp and just chatting on WhatsApp.
If you're wondering how WhatsApp Business compares to the regular app in more detail, we covered it here: WhatsApp vs WhatsApp Business: what's the difference?. And if you want a quick overview of what WhatsApp forms are and how they fit in, check out what is a WhatsApp form.
Step 1: Download the app
WhatsApp Business is a completely separate app from regular WhatsApp. You don't get it from inside your current app. You go to the app store and install it fresh.
The good news: you can run both apps on the same phone at the same time. You just need two different numbers, one for each app. Most people use a dual-SIM phone or a second number for their business account.
If you only have one SIM right now, grab a Google Voice number (free in the US) or a cheap second SIM before starting. It's worth it to keep things clean.
Step 2: Register with your business number
When the app opens, it asks for a phone number. Use your business number here, not your personal one.
Why does this matter? Because once a number is tied to WhatsApp Business, that becomes your public business contact. You don't want customers ringing you at 11pm on your personal line. And you don't want to mix your customer chats with your personal messages.
Tip: WhatsApp Business works with landline numbers too. If you verify via call instead of SMS, WhatsApp will call the number and read out a verification code. No text required. This is useful if your business only has a landline or a VoIP number.
Once you enter your number and verify with the code, you're in. The app will ask if you want to restore a backup. If this is a fresh account, skip it and move on.
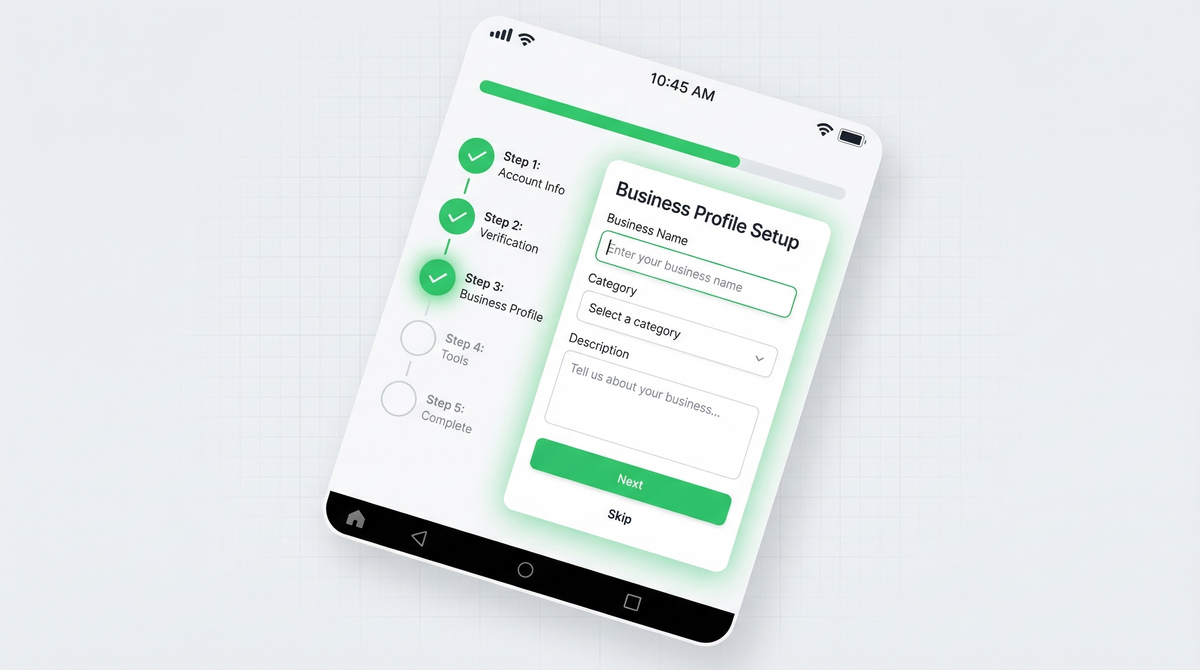
Step 3: Set up your business profile
This is where you make your business look real. Go to Settings > Business profile and fill in every field.
- Business name: Your actual brand name, not a description. "Fatima's Bakery" not "Best cakes in town"
- Category: Pick the one closest to what you do. There are dozens of options
- Description: One or two sentences. What you do, who you help, what makes you worth messaging
- Address: Add this if you have a physical location. It builds trust
- Business hours: So customers know when to expect a reply. Set realistic hours
- Website: Link to your main site, booking page, or wherever you want people to go
Take 3 minutes and fill all of this in. It's the first thing customers see before they message you. A complete profile communicates that you're serious about your business. An empty one communicates the opposite.
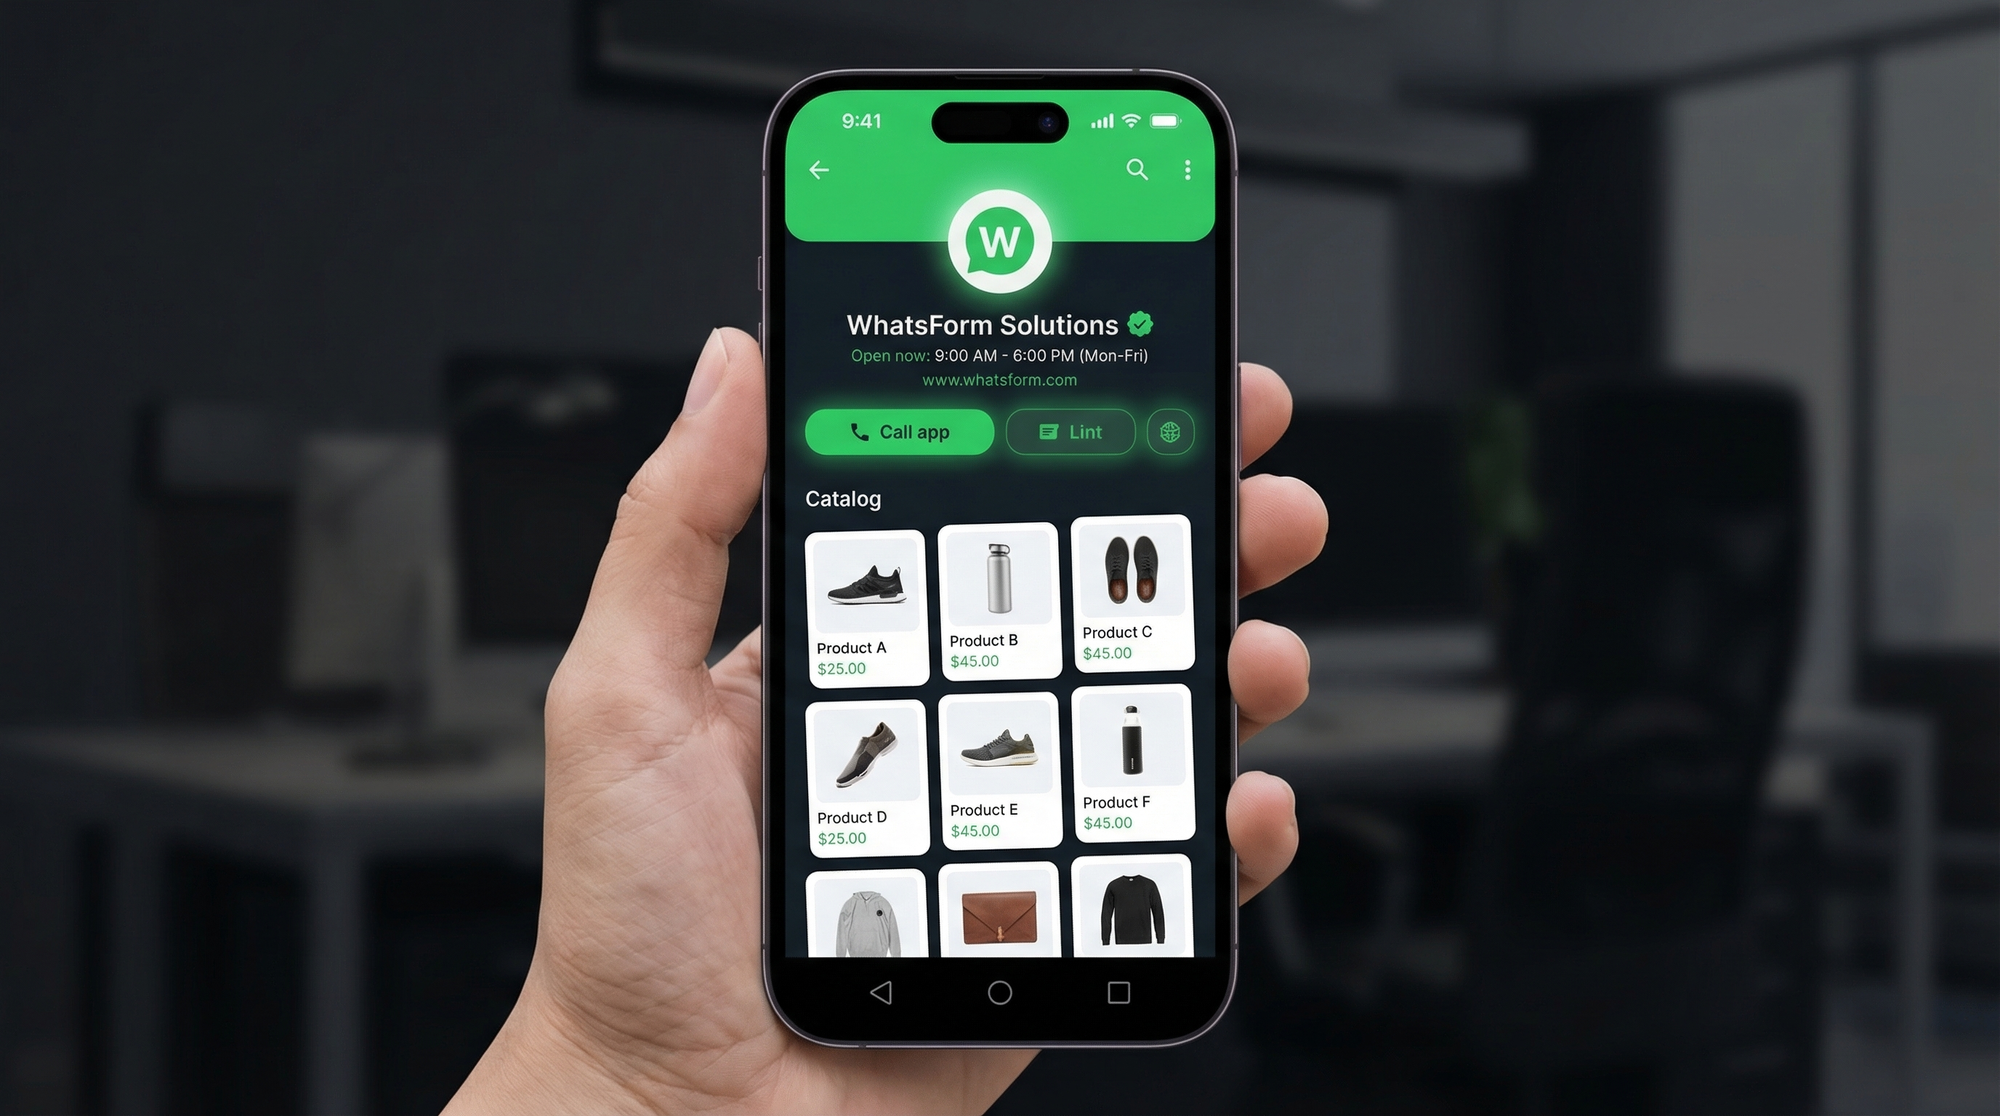
Step 4: Add your products to the catalog
The catalog is one of WhatsApp Business's most underused features. It's basically a mini store inside your chat profile. Customers can browse it before they even send you a message, and they can share individual products directly in a conversation.
Go to Settings > Business tools > Catalog and start adding items. For each product or service, you can include:
- A photo (use a clean, well-lit image on a simple background)
- Product or service name
- Price
- Description (what it is, sizes, variants, anything relevant)
- A link to your website product page if you have one
- A product code if you use one internally
You can add up to 500 items. Start with your 10 best sellers or most popular services and go from there. Customers can tap any item and send it as a message, which makes ordering way easier. No more back-and-forth asking "which one did you want again?"
If you want to take orders properly through WhatsApp, including custom options, quantities, and delivery details, check out our guide on how to collect orders on WhatsApp. Restaurants and food businesses in particular benefit from this. See how: WhatsApp for restaurants.
Step 5: Set up auto replies
You can't be online 24/7. Auto-reply messages handle the first contact for you so no one feels ignored while you're asleep or busy.
Go to Settings > Business tools > Greeting message to set what customers receive the very first time they message you. Keep it warm and useful. Something like: "Hi! Thanks for reaching out to [Business Name]. We'll reply within a few hours. In the meantime, feel free to browse our catalog."
Go to Settings > Business tools > Away message to set what goes out when you're outside your business hours. You can schedule it to only send during specific times, which is a nice touch.
These messages buy you time, set expectations, and make sure nobody bounces before you get a chance to reply. We've written a full walkthrough on getting the most out of these: How to set up WhatsApp auto-reply for your business.
Step 6: Create quick replies for common questions
Quick replies are pre-written responses you trigger with a simple slash command in any chat. They save you from typing the same thing 15 times a day.
Go to Settings > Business tools > Quick replies and set up shortcuts for your most common responses:
- /price – your pricing or a link to your pricing page
- /order – how to place an order with you
- /delivery – your delivery times and fees
- /hours – your business hours
- /location – your address and a maps link
- /returns – your return or refund policy
To use one in a chat, just type / and tap the shortcut you want. The full message appears instantly. It keeps your replies fast, professional, and consistent every time.
Step 7: Organize with labels
Once you're handling conversations from more than a handful of customers, labels keep things from turning into chaos. You can tag any conversation or message with a colored label so you always know what stage each customer is at.
WhatsApp Business comes with some default labels like "New customer" and "New order". You can edit them and create your own. Good ones to start with:
- New inquiry
- Pending payment
- Order confirmed
- Awaiting delivery
- Follow up
- VIP customer
Go to More options (three dots) > Labels in any conversation to apply them. You can also filter your chat list by label, so you can pull up all "Pending payment" conversations in one tap. It's simple but it works, especially when you're managing 30 to 50 active chats a week.
What's next: collecting leads and orders properly
WhatsApp Business gets you ready to receive customers. It looks professional, it responds automatically, and it gives people a way to browse what you offer. That's a solid foundation.
But here's the gap most businesses hit: chat alone can't collect structured data. When someone wants to book a service, place a custom order, or send you a proper inquiry, a back-and-forth thread isn't the cleanest way to do it. You end up asking the same questions over and over. Things get missed. Orders fall through the cracks.
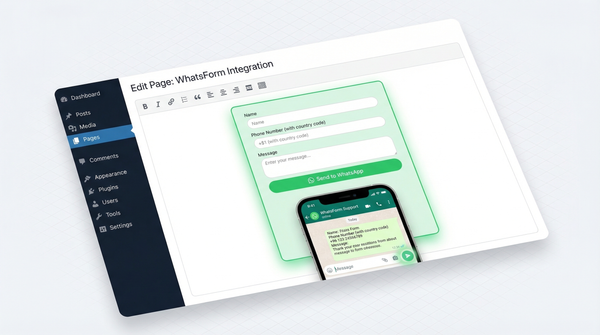
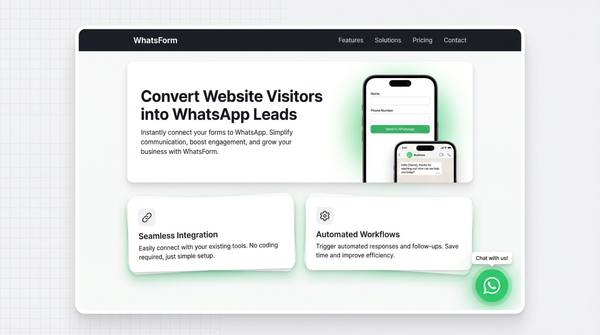
That's exactly what WhatsForm was built to solve. Full disclosure: we built it. WhatsForm lets you create forms that send responses directly into WhatsApp chat. No external links that feel sketchy. No forms that open in a browser and lose customers halfway through. The whole flow stays inside WhatsApp.
For a detailed walkthrough, check our help center guide on creating your first form. If you want to replace your website's traditional contact form with a WhatsApp-powered one, here's how: WhatsApp contact form for your website.
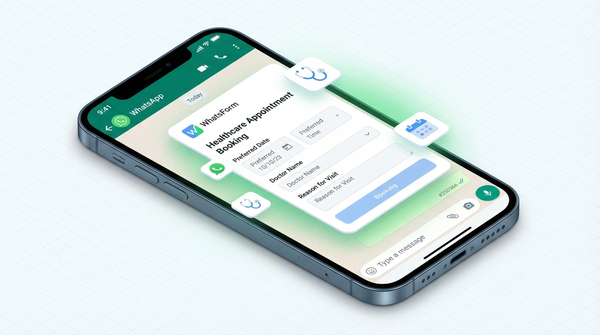
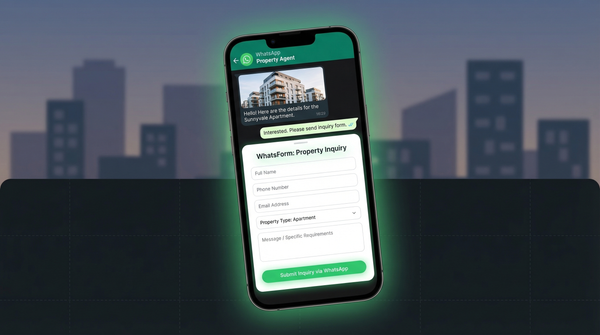
You can build order forms, booking forms, lead capture forms, payment forms, and more. Then share them as a link, a QR code, or embed them on your website. Every submission lands in your WhatsApp inbox as a clean, structured message. Online stores can especially benefit. See our guide on WhatsApp for ecommerce.
We also have a set of free WhatsApp tools that pair well with your new business account.
Get started free:
You've done the 5 minutes to set up WhatsApp Business. Now use it to actually grow the business.